
Expert Support Available 24/7
Text ( 407) 288- 8353
INSTALLING A CAR LIFT ON YOUR OWN IS NO SMALL MATTER. IF YOU AREN’T ENTIRELY CONFIDENT THAT YOU KNOW HOW TO INSTALL A CAR LIFT SAFELY, YOU MAY WANT TO CALL A PROFESSIONAL SERVICE TO DO THE JOB FOR YOU. ON THE OTHER HAND, IF YOU HAVE A LOT OF EXPERIENCE IN THE AUTO REPAIR INDUSTRY, YOU MAY FIND THAT INSTALLING A LIFT WITHOUT PROFESSIONAL ASSISTANCE CAN SAVE YOU A SIGNIFICANT AMOUNT OF MONEY.
Start by making sure you have the right tools, clothing, and protective gear for the job. You’ll also need at least one other person to help you lift heavy parts. Next, follow the guidelines outlined below to ensure your new lift is properly installed and ready to use.
The first step in how to install a car lift is to choose a convenient location, so mechanics can walk and work under vehicles with ease. The usual minimum clearance height is 12 feet from the floor to the ceiling. Lifts with asymmetric arms should be at least nine feet from a wall. If you intend to install more than one lift, make sure there is ample space between each lift for mechanics to move around safely and conveniently.
It’s wise to check local building codes before you buy a lift as your geographic location, size, and height of your shop, and other factors may determine which type (or types) of lift you can install and where you can install it. You’ll also want to have all the tools and equipment you need for the job on hand to prevent accidents and speed up the installation process.
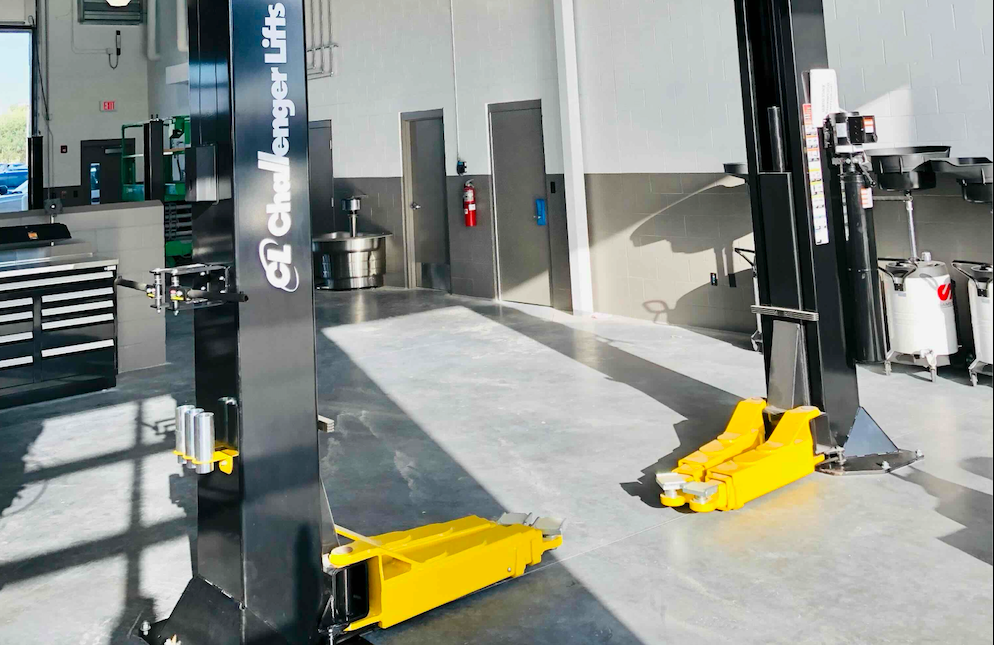
Two-post lifts are small yet durable. They’re also more affordable than four-post lifts. Two-post lifts typically have a 220-volt motor and can be used to repair a range of vehicle makes and models. These lifts must be fastened securely to the ground and cannot be moved.
Four-post lifts have a 110-volt motor and are more expensive than two-post lifts. However, unlike two-post lifts, four-post lifts do not necessarily have to be fastened permanently to the ground. This enables auto shop owners to move the lift as the need arises. The only downside of the four-post lift is that it can only be used in a shop with a high ceiling.
There are also multiple scissor lifts to pick from. Options include the electric lift, rough terrain lift, and the hybrid lift. Some lifts are low-rise, others are mid-rise, and still others are full-rise. No one scissor lift type is inherently better than the others; rather, you will need to consider product specs such as load, lift size, and platform size to pick the lift that best suits your needs. Bear in mind, however, that these lifts have a lower weight limit and shorter life span than two-post and four-post lifts.
A car lift should only be installed on a solid concrete surface. The surface should be at least four inches deep, but six to twelve inches is ideal. The concrete should be mixed mechanically rather than by hand, and it will need a minimum PSI of 3,0000.
Read the installation instructions carefully before starting, so you know the area of the lift and how far apart the lift towers are supposed to be. Mark the concrete to show where to drill each hole. However, you should only drill the holes for a single tower at a time. Once you’ve put in the anchors for the first tower, proceed to put in the anchors for the second tower, making sure that it’s directly opposite the first set of anchors you installed. Continue this process until all anchors are securely installed in the concrete.
Generally speaking, you’ll start by installing the first tower and then allow time for the adhesive to cure. Next, you’ll assemble and install the overhead bar. This includes attaching wiring to the bar and securing the limit switch arm. You’ll need two people to carry the overhead bar up two ladders and secure it in place. Once you’re done, you’ll install the other towers. Once all the towers are set up and the adhesive has cured, two people should install the power unit.
Now it’s time to install the hydraulic lines, hydraulic fittings, and the wire for the safety shut-off switch. If there is extra hydraulic line material, tie it up at the top of the lift to ensure it doesn’t bunch up inside the towers and interfere with lift operations. When you’re done, run the wire from the safety switch to the power unit. Finally, install the equilibrium cables, using two nuts on each end of both cables to lock them in place.
Hang the lift arms onto the carriage, then drop the lifting feet into the arms. Install arm restraints to prevent the arms from swinging too far to the left or right. Be sure the spring, washer, and cotter pin are also properly installed. When you’re done, connect the hydraulic line and fill the power unit reservoir with the fluid recommended in your car lift manual.
Clear the area to ensure no one is hurt if the lift malfunctions. Then test the lift with a load test.
Have a professional technician check the lift immediately after installation and at the end of each workday. This ensures the lift is in good working order and helps to prevent serious damage and accidents.
{"one"=>"Select 2 or 3 items to compare", "other"=>"{{ count }} of 3 items selected"}